Create a Mars Weather App
MAAS2 is a REST API that provides the latest weather data transmitted by the Curiosity Rover on Mars. This API is built upon the REMS (Rover Environmental Monitoring Station). MAAS2 responds in JSON formatted data.
Project Setup
|- mars-weather-app
    |- index.html
    |- style.css
    |- weather.js
index.html
Create a index.html and paste the code.
<!DOCTYPE html>
<html lang="en">
  <head>
    <meta charset="UTF-8" />
    <meta http-equiv="X-UA-Compatible" content="IE=edge" />
    <meta name="viewport" content="width=device-width, initial-scale=1.0" />

    <!-- Compiled and minified CSS -->
    <link
      rel="stylesheet"
      href="https://cdnjs.cloudflare.com/ajax/libs/materialize/1.0.0/css/materialize.min.css"
    />
    <link rel="preconnect" href="https://fonts.gstatic.com" />
    <link
      href="https://fonts.googleapis.com/icon?family=Material+Icons"
      rel="stylesheet"
    />

    <link rel="stylesheet" href="./style.css" />
    <!-- Compiled and minified JavaScript -->
    <script src="https://cdnjs.cloudflare.com/ajax/libs/materialize/1.0.0/js/materialize.min.js"></script>
    <script src="./weather.js"></script>
    <script>
      // onload render the previous tasks
      window.addEventListener("load", getWeatherReport);
    </script>
    <title>Mars Weather</title>
  </head>
  <body>
    <div class="mars-header">
      <span>
        <i class="large material-icons">ac_unit</i>
        <header>Mars Weather</header></span
      >
    </div>
    <main>
      <div class="row">
        <div class="info">
          <div>
            <table>
              <tbody>
                <tr>
                  <td>
                    <i class="material-icons">access_time</i> Terrestrial Date
                  </td>
                  <td id="terrestrial_date"></td>
                </tr>
                <tr>
                  <td><i class="material-icons">whatshot</i> temp</td>
                  <td id="temp"></td>
                </tr>
                <tr>
                  <td><i class="material-icons">cloud_queue</i> weather</td>
                  <td id="weather"></td>
                </tr>
                <tr>
                  <td><i class="material-icons">looks</i> season</td>
                  <td id="season"></td>
                </tr>
                <tr>
                  <td><i class="material-icons">brightness_5</i> sunrise</td>
                  <td id="sunrise"></td>
                </tr>
                <tr>
                  <td><i class="material-icons">brightness_7</i> sunset</td>
                  <td id="sunset"></td>
                </tr>
              </tbody>
            </table>
          </div>
        </div>
      </div>
    </main>
    <footer>
      <div class="footer-copyright">
        <div>
          Made with <span style="color: red">❤️</span> by
          <a href="https://schadokar.dev">schadokar</a>
        </div>
        <div>
          Ingredients <span> 🧪</span> html, css and
          <a href="https://materializecss.com/">material ui</a>
        </div>
        <div>
          <a href="https://github.com/day-to-day-coding/mars-weather-app"
            ><i class="material-icons">code</i></a
          >
        </div>
      </div>
    </footer>
  </body>
</html>
style.css
Create a style.css and paste the code.
body {
  background-color: white;
  background-repeat: no-repeat;
  flex-direction: column;
  padding-top: 2rem;
  padding-bottom: 2rem;
  padding-left: 4rem;
  padding-right: 4rem;
  background-size: cover;
}

header {
  font-size: xx-large;
  margin-bottom: 50px;
}

main {
  flex: 1 0 auto;
}

.vertical-divider {
  border-left: 1px solid gray;
}

.page-footer .footer-copyright {
  background-color: white;
}

footer {
  margin-top: 7rem;
}
weather.js
Create a weather.js and paste the code.
function getWeatherReport(city) {
  var requestOptions = {
    method: "GET",
    redirect: "follow",
  };

  fetch(`https://api.maas2.apollorion.com/`, requestOptions)
    .then((response) => response.json())
    .then((result) => {
      document.getElementById("terrestrial_date").innerHTML =
        result.terrestrial_date;
      document.getElementById(
        "temp"
      ).innerHTML = `max ${result.max_temp} ℃, min ${result.min_temp} ℃`;
      document.getElementById("weather").innerHTML = result.atmo_opacity;
      document.getElementById("season").innerHTML = result.season;
      document.getElementById("sunrise").innerHTML = result.sunrise;
      document.getElementById("sunset").innerHTML = result.sunset;
    })
    .catch((error) => console.log("error", error));
}
Run
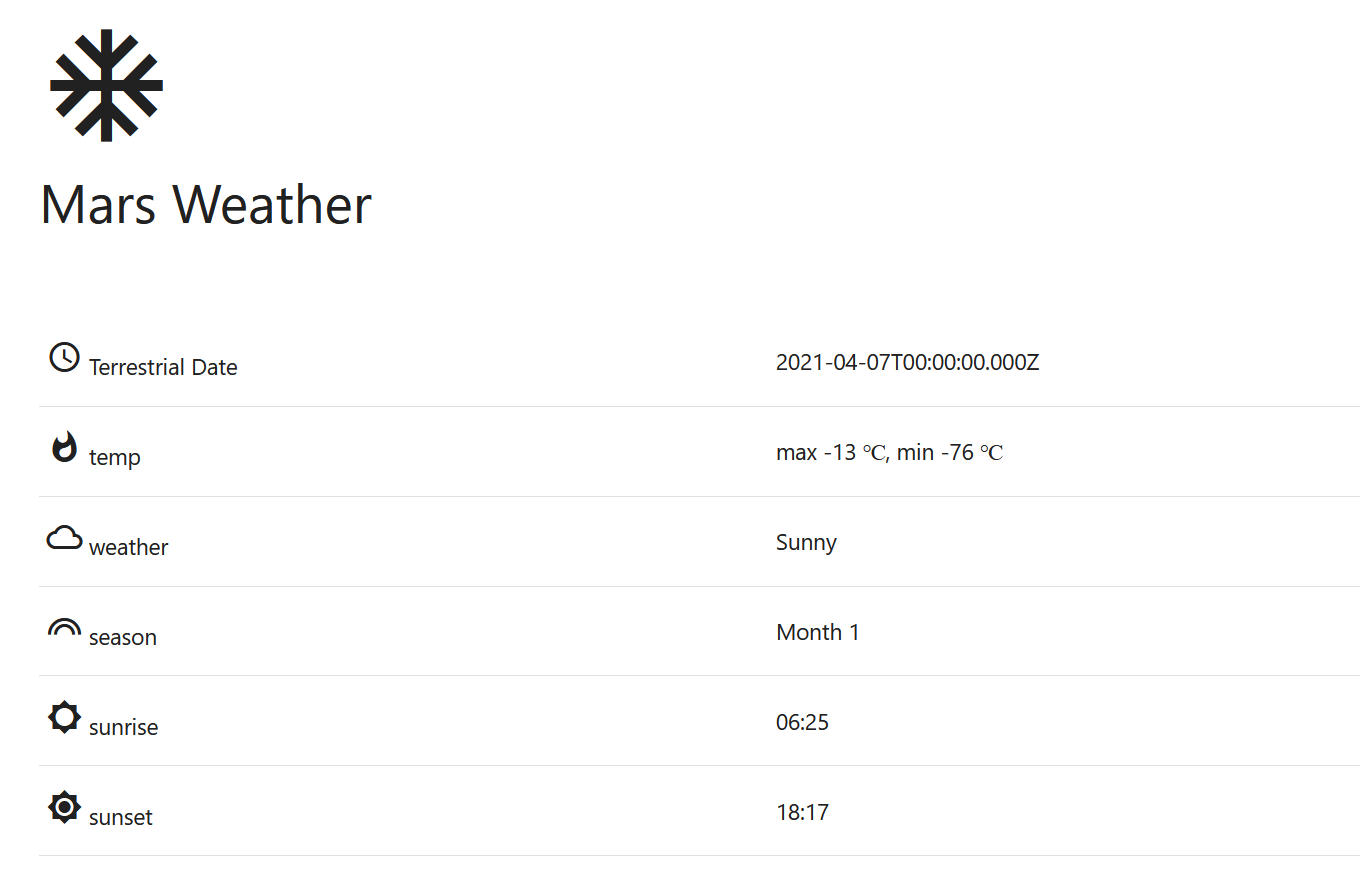
Open the index.html in the browser and test it.
To run it as server, install serve using npm install --global serve. Install nodejs first to run npm command.
Open the terminal or cmd in the project and run serve.
This will start a server at localhost:5000 and serve index.html.
Host it
You can host it on GitHub Pages.
Create a html-weather-app repository on the GitHub. You can name it anything.
Open the terminal or cmd in the project and instantiate git init.
Stage and commit the code.
git init
git add .
git commit -m 'weather app is complete'
This is a static web app due to which your api key is visible to everyone. So either keep the account in free tier or remove/delete the API key from the
weather.jsand then push it. Or you can delete the API key in openweathermap account.
Open GitHub repo and copy the repo url. Add it as origin and push the code to the GitHub.
git remote add origin https://github.com/<Your username>/<repo name>.git
git branch -M main
git push -u origin main
Open the GitHub repo settings and go to pages.
Under Source, select the main branch, /root folder and save it.
The app is now live at
https://<Your Username>.github.io/<your repo name>/